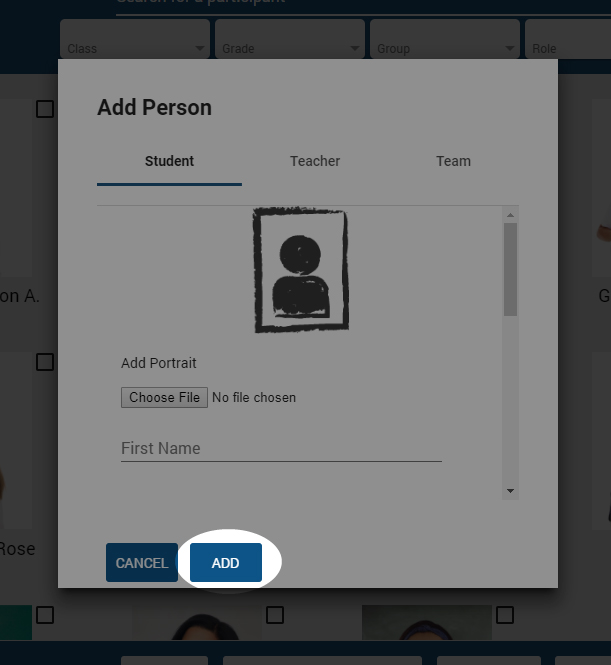
Add New Person
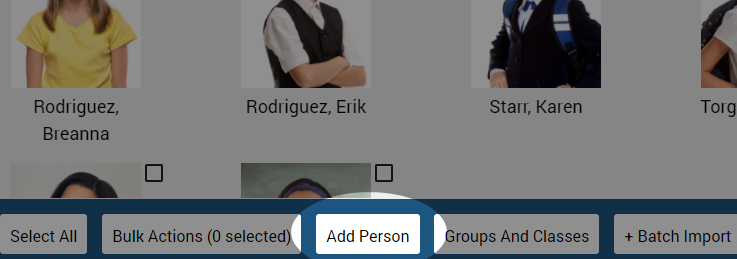
To add a new person to your school, click “Add Person” on the bottom bar.
Add Details
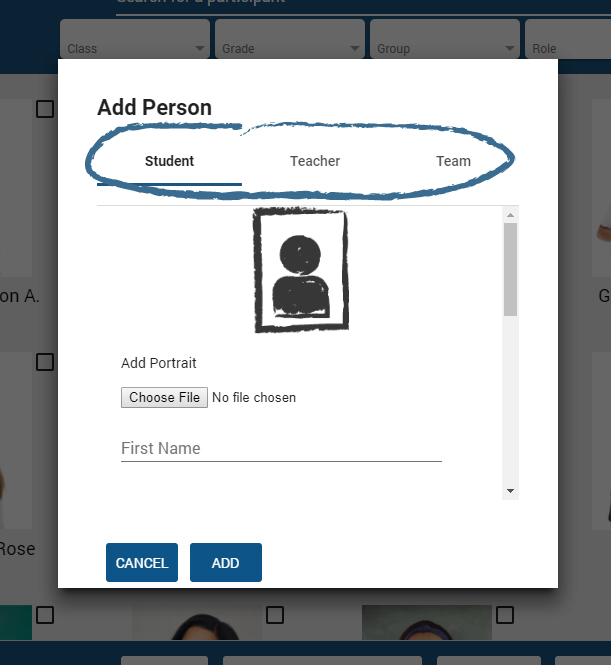
This is the Add Person window.
First, select which type of person is being added: Student, Teacher, or Team.
Fill out all relevant information for this person. Available fields will depend on which type of person you select.
You can also come back and edit this information later.
Upload Portrait
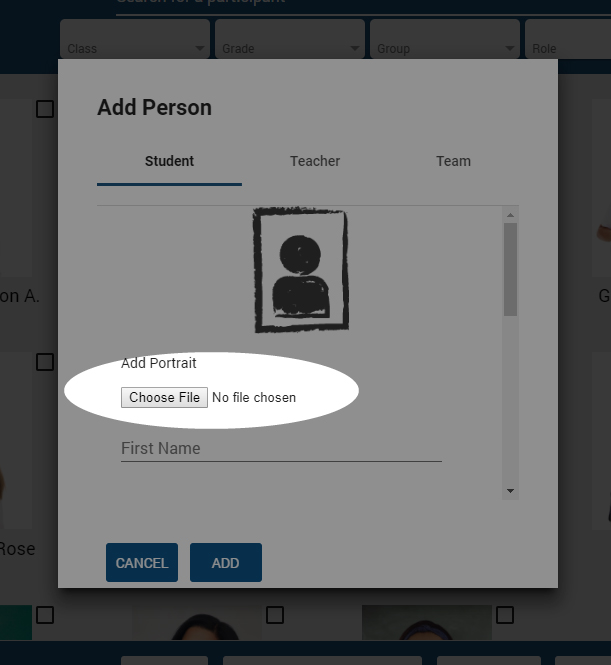
Click Choose File to upload a portrait of this person.
NOTE: You don’t need high-res images. Large files will slow down your People directory.
NOTE: you should always use portrait-oriented images if possible. Landscape-oriented images will crop anything outside the allowable image space when applied to ID cards or certificates.
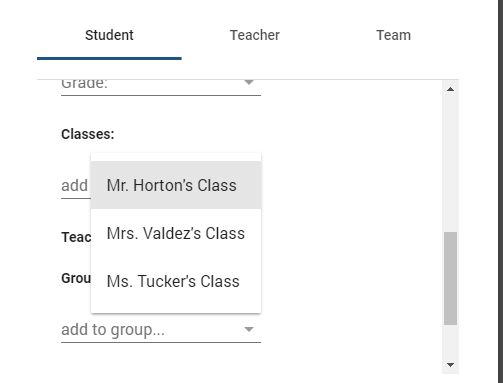
Add To Classes / Groups
Add this person to existing classes and/or groups by selecting the appropriate class or group from the drop-down.
For students, the Teachers field will automatically populate with the designated leader in any class the student is added to.
(NOTE: classes and groups must be created before people can be added. To learn how to manage groups and classes, click here.)
Finish Adding
Click the “ADD” button to finish adding this person to your directory.
IIt may take several seconds before they appear.
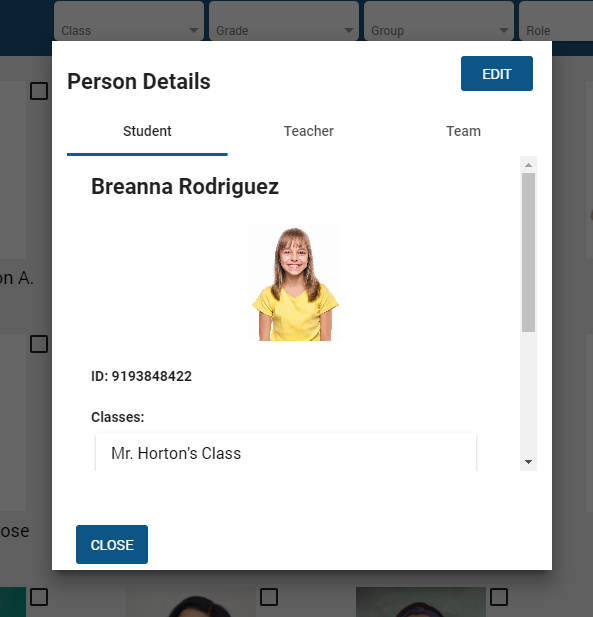
Edit Existing Person
Click the image of the person you would like to edit.
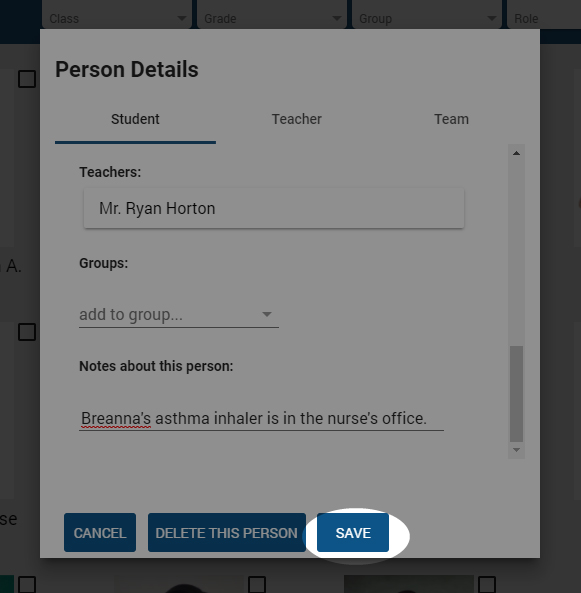
This will bring up the Person Details screen.
Click the “EDIT” button in the top right corner.
Save Changes
Once you are finished making changes, click the “SAVE” button.
It may take several seconds before changes appear in your directory.