(Click images to enlarge)
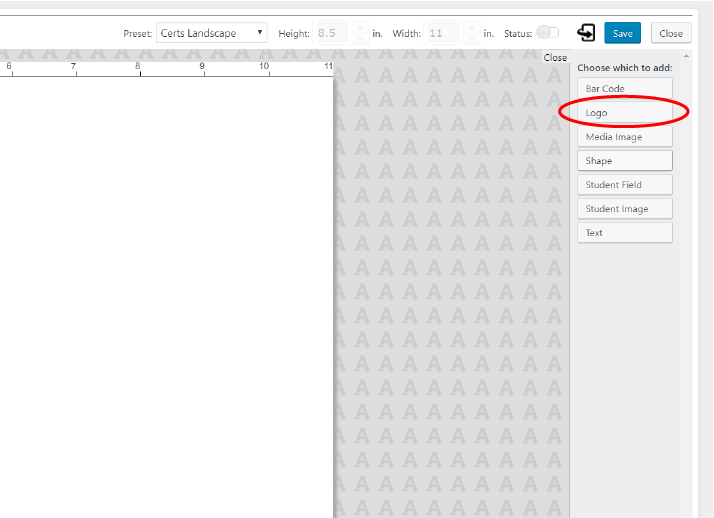
In your document, click ‘Add Element’ and then click ‘Logo’.
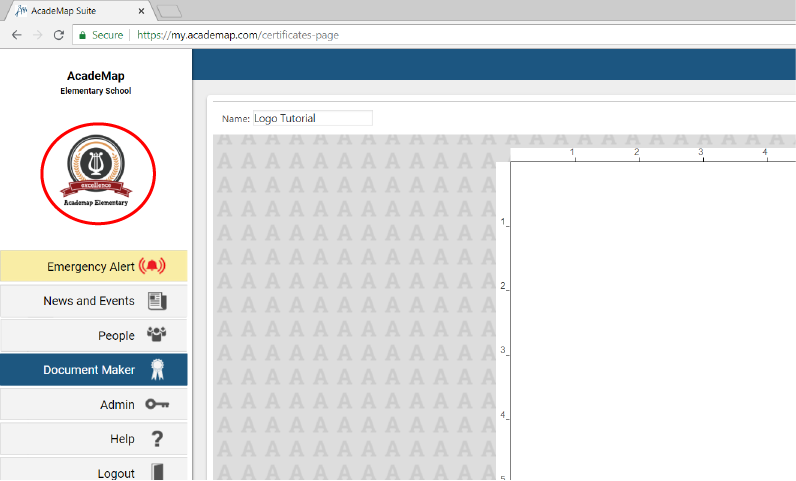
The logo element pulls the logo from your school’s profile. You can see your school’s logo in the navigation menu.
The logo is set in your school’s profile by your school photography company.
Click and drag your logo element to position it.
Like other elements, You can modify the logo’s general settings such as height, width, opacity and rotation.
NOTE: The grey logo box represents the space that your logo will fit. Your school logo will not appear until after you save the document.
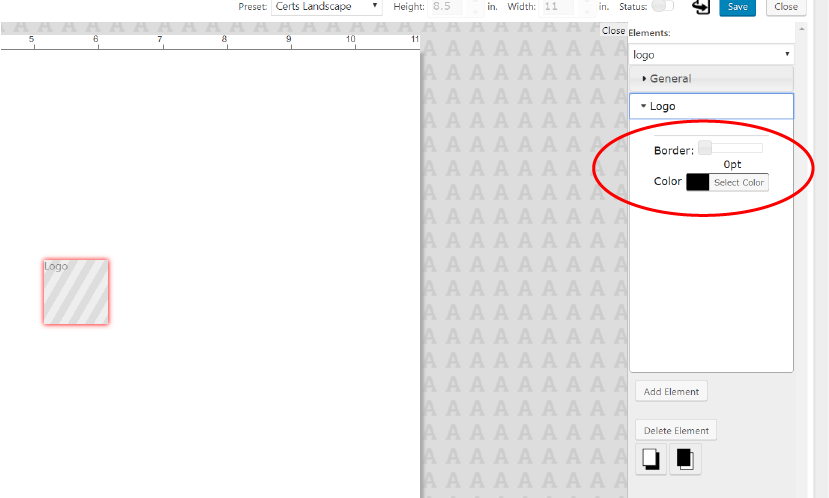
Open the ‘Logo’ tab in the element settings. Here you can add a border to your logo box.
When you are finished making changes and want to see your logo in your document, click ‘Save’. The page will refresh and your school logo will appear in the element box.