(Click images to expand)
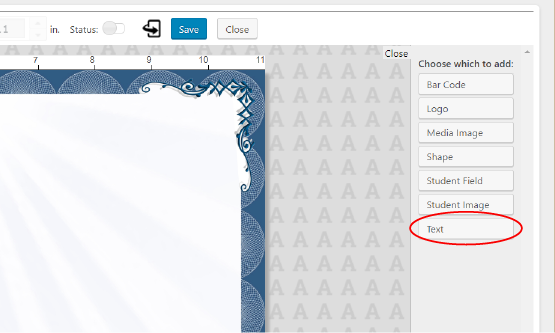
Click ‘Add Element’ and then click ‘Text’.
The text element will appear in the top left corner. Drag and place to position it where you want.
Make sure to properly label your text fields so they are easy to identify in your document!
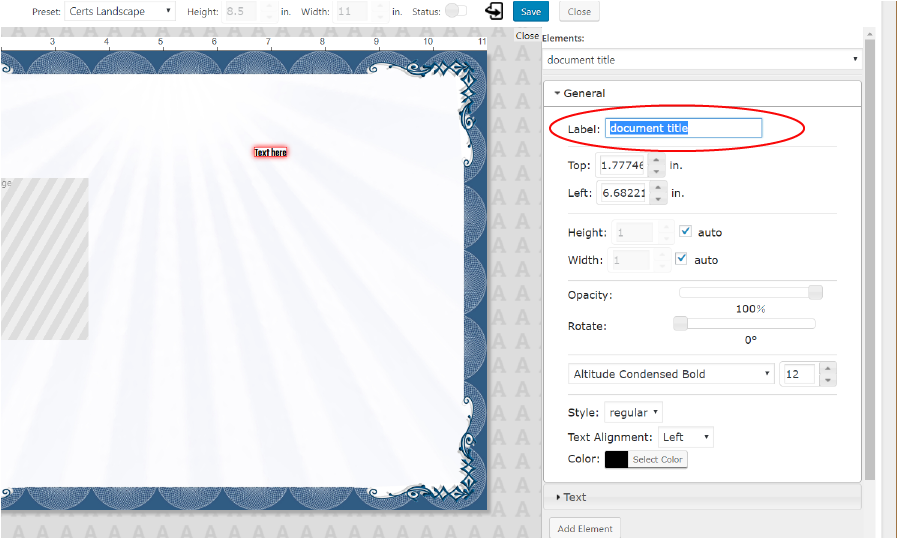
The text element will appear in the top left corner. Drag and place to position it where you want.
Make sure to properly label your text fields so they are easy to identify in your document!
Leave Height and Width set to ‘Auto’ unless you plan to make this a Customizable text field with a fixed width.
Modify the font, size, style, text alignment and color to suit your needs.
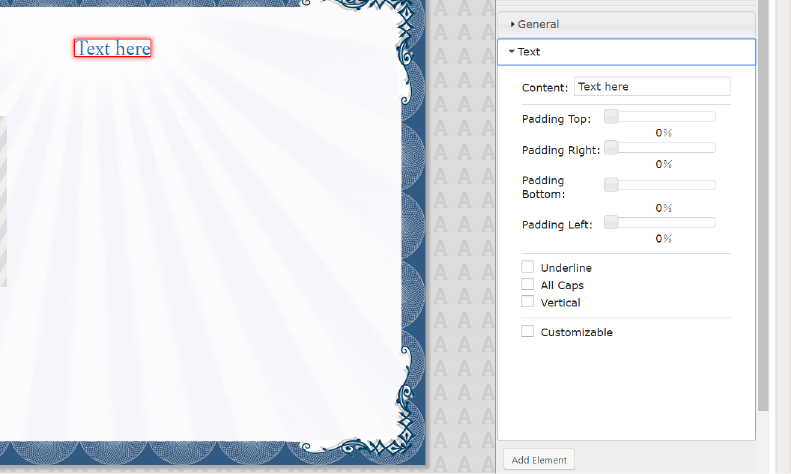
In the Text settings drop-down, you can edit:
Content: this is the default content that fills this field.
Padding: the space around the text.
Underline: place an underline under the text.
All Caps: capitalize the text by default.
Vertical: make the text a vertical column.
Customizable: this allows users ordering/printing this document to enter custom text into this field. If you check this box, we recommend setting a fixed width on the text field to ensure any text entered will fit onto the document (see General settings above).